Deploy monitoring tools using the WEKA Management Station (WMS)
Deploy the monitoring tools, LWH, WEKAmon, and SnapTool, using the WEKA Management Station (WMS) in an on-premises environment.
The WEKA Management Station (WMS) is an installation kit similar to an OS installation disk that simplifies the installation and configuration of the Local WEKA Home (LWH), WEKAmon, and SnapTool in an on-premises environment. The WMS installs the WEKA OS, drivers, and WEKA software automatically and unattended.
The WMS can also install a WEKA cluster by deploying the WEKA Software Appliance (WSA) package on bare metal servers.
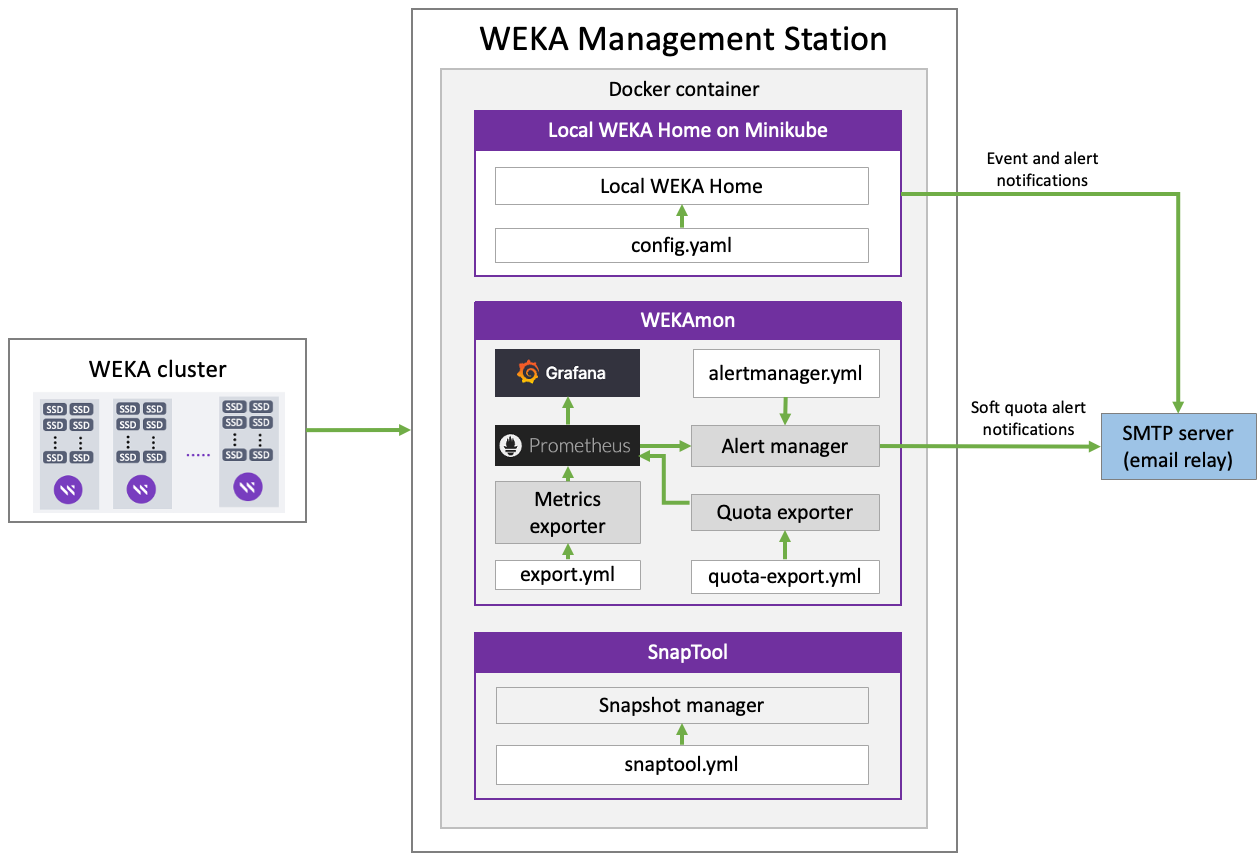
See the related topics to learn about the tools installed with the WMS.
Related topics
WEKA Home - The WEKA support cloud
Set up the WEKAmon external monitoring
Set up the SnapTool external snapshots manager
WEKA cluster installation on bare metal servers
WMS deployment prerequisites
The server or VM must meet the following requirements:
Boot drives: One or two identical boot drives as an installation target.
A system with two identical boot drives has the OS installed on mirrored partitions (LVM).
A system with one drive has a simple partition.
Minimum boot drive capacity:
If not configuring LWH: SSD 141 GB (131 GiB).
If configuring LWH: See the SSD-backed storage requirements section in Deploy Local WEKA Home v3.0 or higher.
Boot type: UEFI boot (BIOS boot is also supported but deprecated).
Cores and RAM:
If not configuring LWH: minimum 4 cores and 16 GiB.
If configuring LWH, see the Server minimum CPU and RAM requirements section in Deploy Local WEKA Home v3.0 or higher.
Network interface: 1 Gbps.
Firewall rules: The WMS listens on multiple ports depending on which service you are accessing. See Required ports
This workflow only applies to installation on a server or VM. It does not apply to installation on AWS. To install on AWS, contact the Customer Success Team.
Before you begin
Before deploying the WMS, adhere to the following:
The root password is
WekaServiceThe weka user password is
weka.io123If errors occur during installation and the installation halts (no error messages appear), use the system console to review the logs in
/tmp. The primary log is/tmp/ks-pre.log.To get a command prompt from the Installation GUI, do one of the following:
On macOS, type ctrl+option+f2
On Windows, type ctrl+alt+f2.
Creating a unique local username dedicated to WMS with a ClusterAdmin or OrgAdmin role is highly recommended. The unique username is displayed in the event logs, making identifying and troubleshooting issues easier. To create a local user, see the Create local users topic.
WMS deployment workflow
Install the WMS
Procedure
Download the latest WMS image from get.weka.io (requires sign-in).
Boot the server from the WMS image. The following are some options to do that:
Copy the WEKA Management Station ISO image to an appropriate location so the server’s BMC (Baseboard Management Controller) can mount it or be served through a PXE (Preboot Execution Environment).
Depending on the server manufacturer, consult the documentation for the server’s BMC (for example, iLO, iDRAC, and IPMI) for detailed instructions on mounting and booting from a bootable ISO image, such as:
A workstation or laptop sent to the BMC through the web browser.
An SMB share in a Windows server or a Samba server.
An NFS share.
To use PXE boot, use the WEKA Management Station as any other Operating System ISO image and configure accordingly.
Burn the WMS image to a DVD and boot it from the physical DVD. However, most modern servers do not have DVD readers anymore.
A bootable USB drive should work (follow online directions for creating a bootable USB drive) but has not been tested yet.
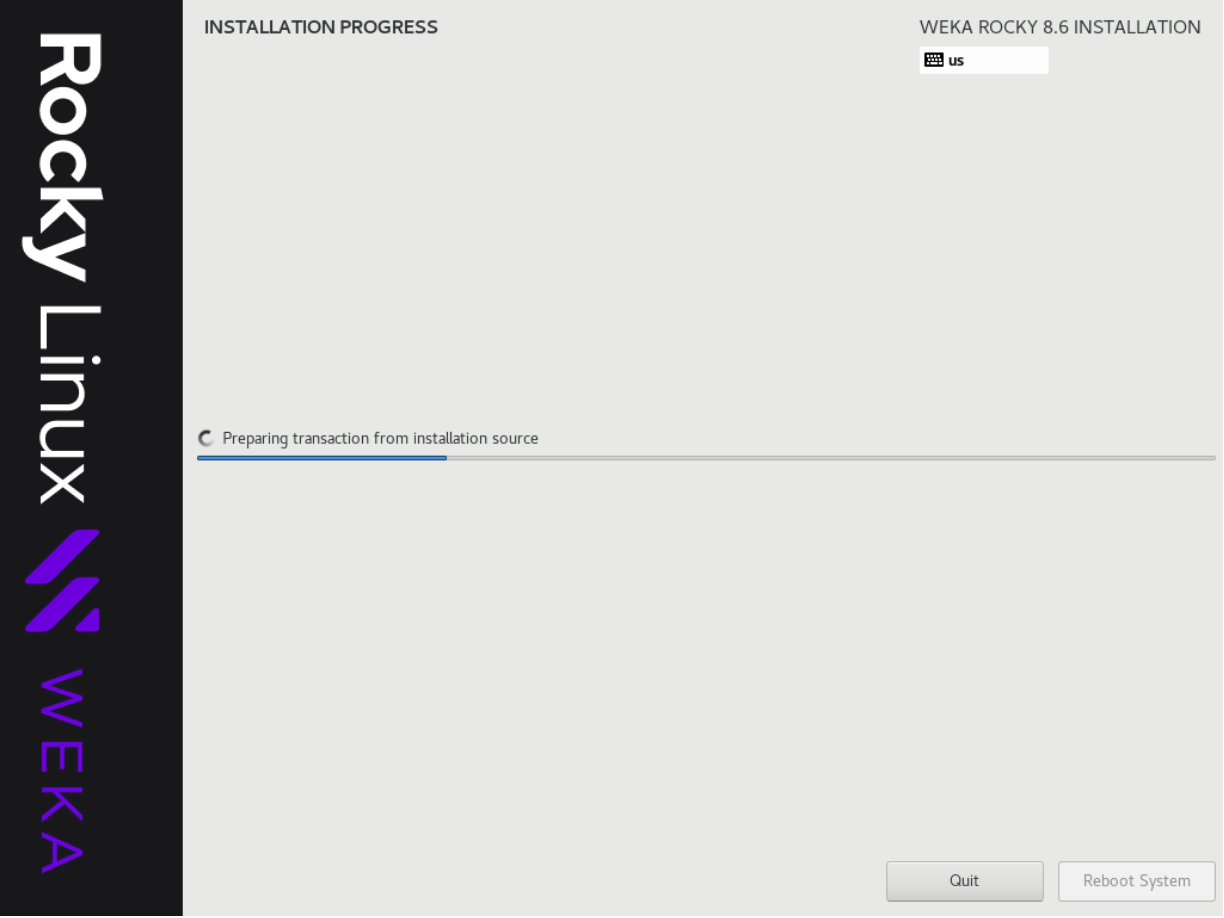
Once you boot the server, the WEKA Management Station installs the WEKA OS (Rocky Linux), drivers, and WEKA software automatically and unattended (no human interaction required).
Depending on network speed, this can take about 10-60 mins (or more) per server.
Configure the WMS
Once the WMS installation is complete and rebooted, configure the WMS.
Procedure
Run the OS using one of the following options:
Run the OS through the BMC’s Console. See the specific manufacturer’s BMC documentation.
Run the OS through the Cockpit Web Interface on port 9090 of the OS management network.
If you don’t know the WMS hostname or IP address, go to the console and press the Return key a couple of times until it prompts the URL of the WMS OS Web Console (Cockpit) on port 9090.
Change the port from 9090 to 8501, which is the WMS Admin port.

Browse to the WMS Admin UI using the following URL:
http://<WMS-hostname-or-ip>:8501
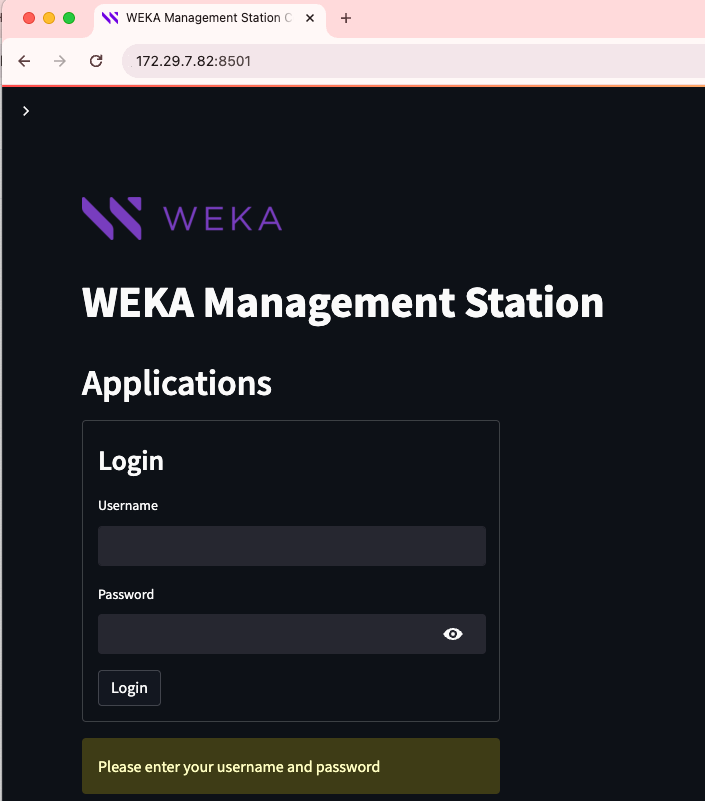
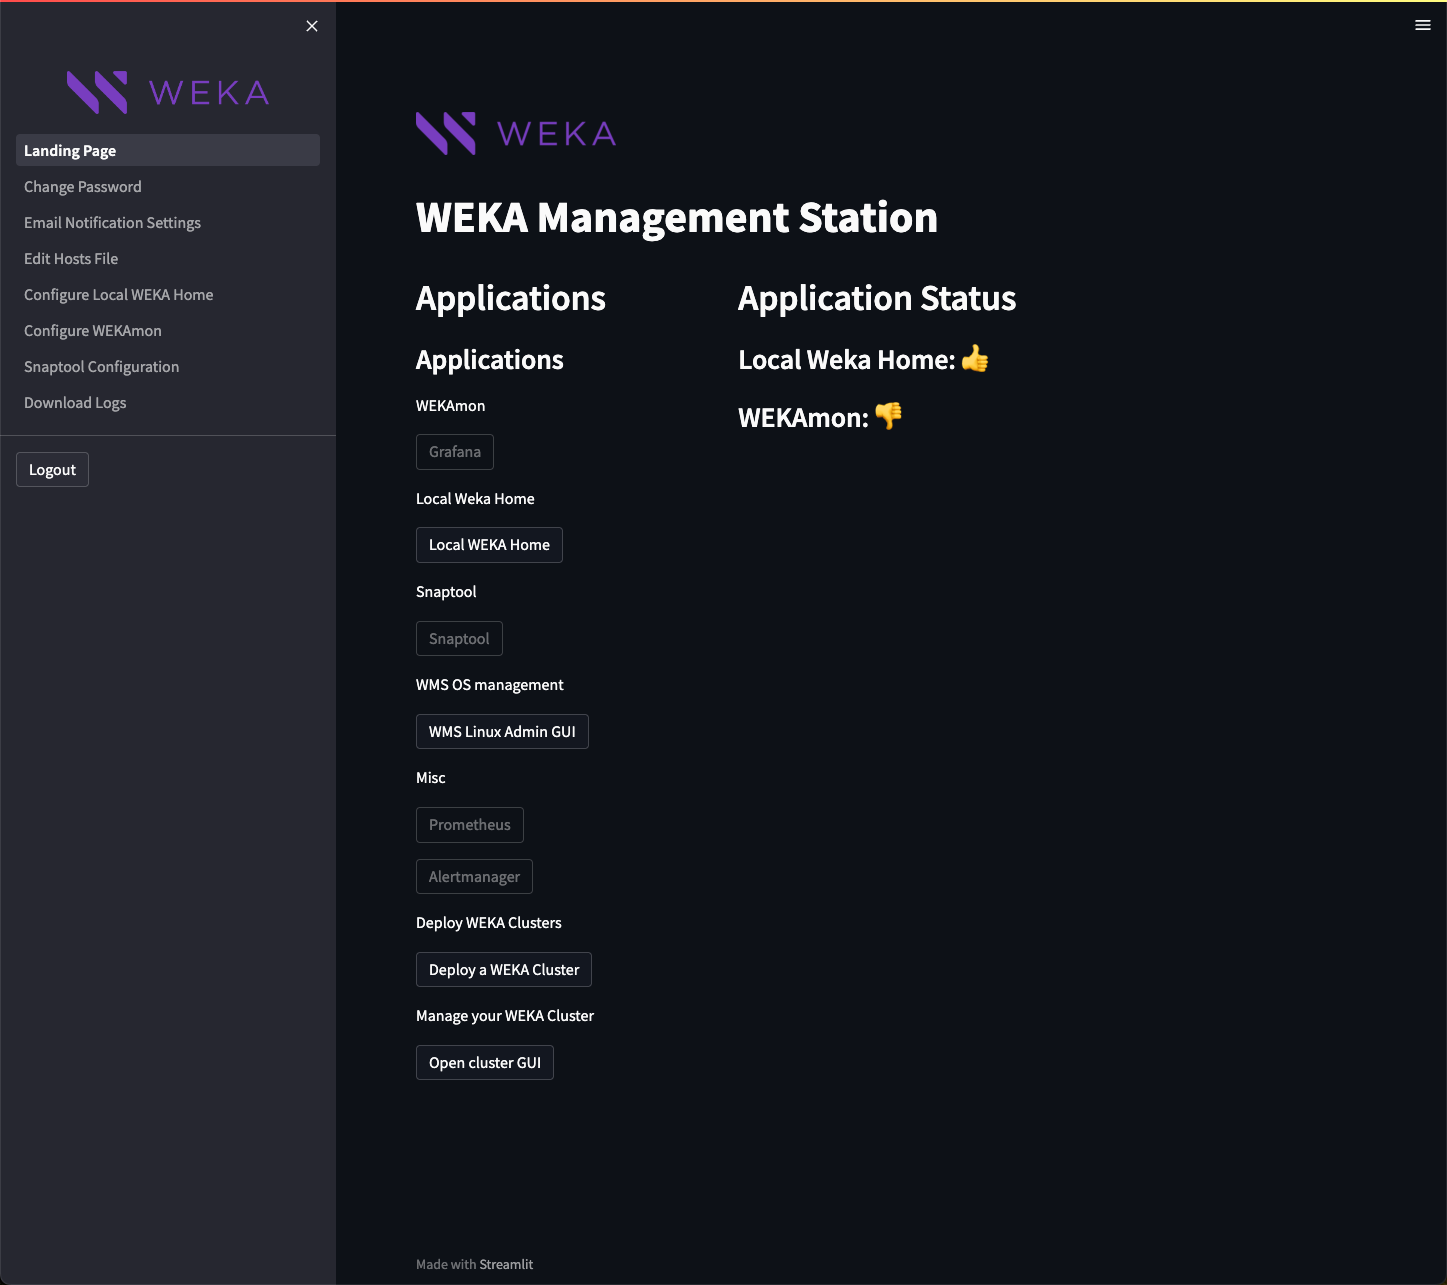
If you have created a local username dedicated to WMS, as recommended, enter its credentials. Otherwise, enter the default username and password admin/admin. Then, select Login. The Landing Page appears.
Change password
The default password is admin. It is recommended to change it for security reasons.
Procedure
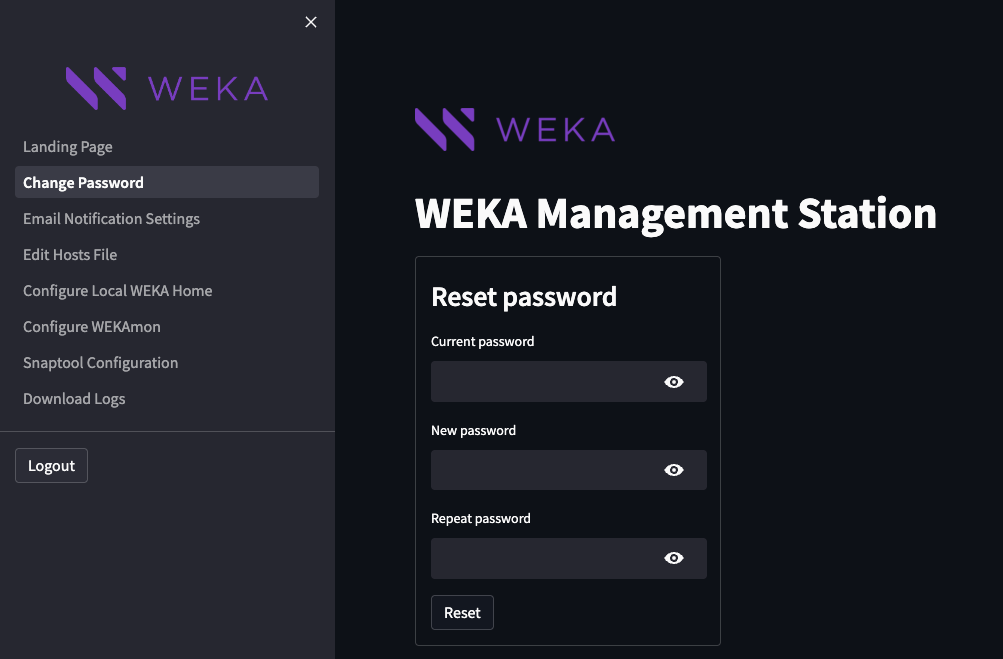
From the left pane, select Change Password.
Provide your current password, choose a new password, confirm the new password, and click Reset.
Configure the email notifications
Set up email notifications by configuring the SMTP Relay to enable WMS for sending notifications related to:
LWH alerts and events: The LWH sends email alerts and events notifications.
WEKAmon quota notifications: The WEKAmon Alert Manager sends email alerts when a user reaches the soft quota limit.
Procedure
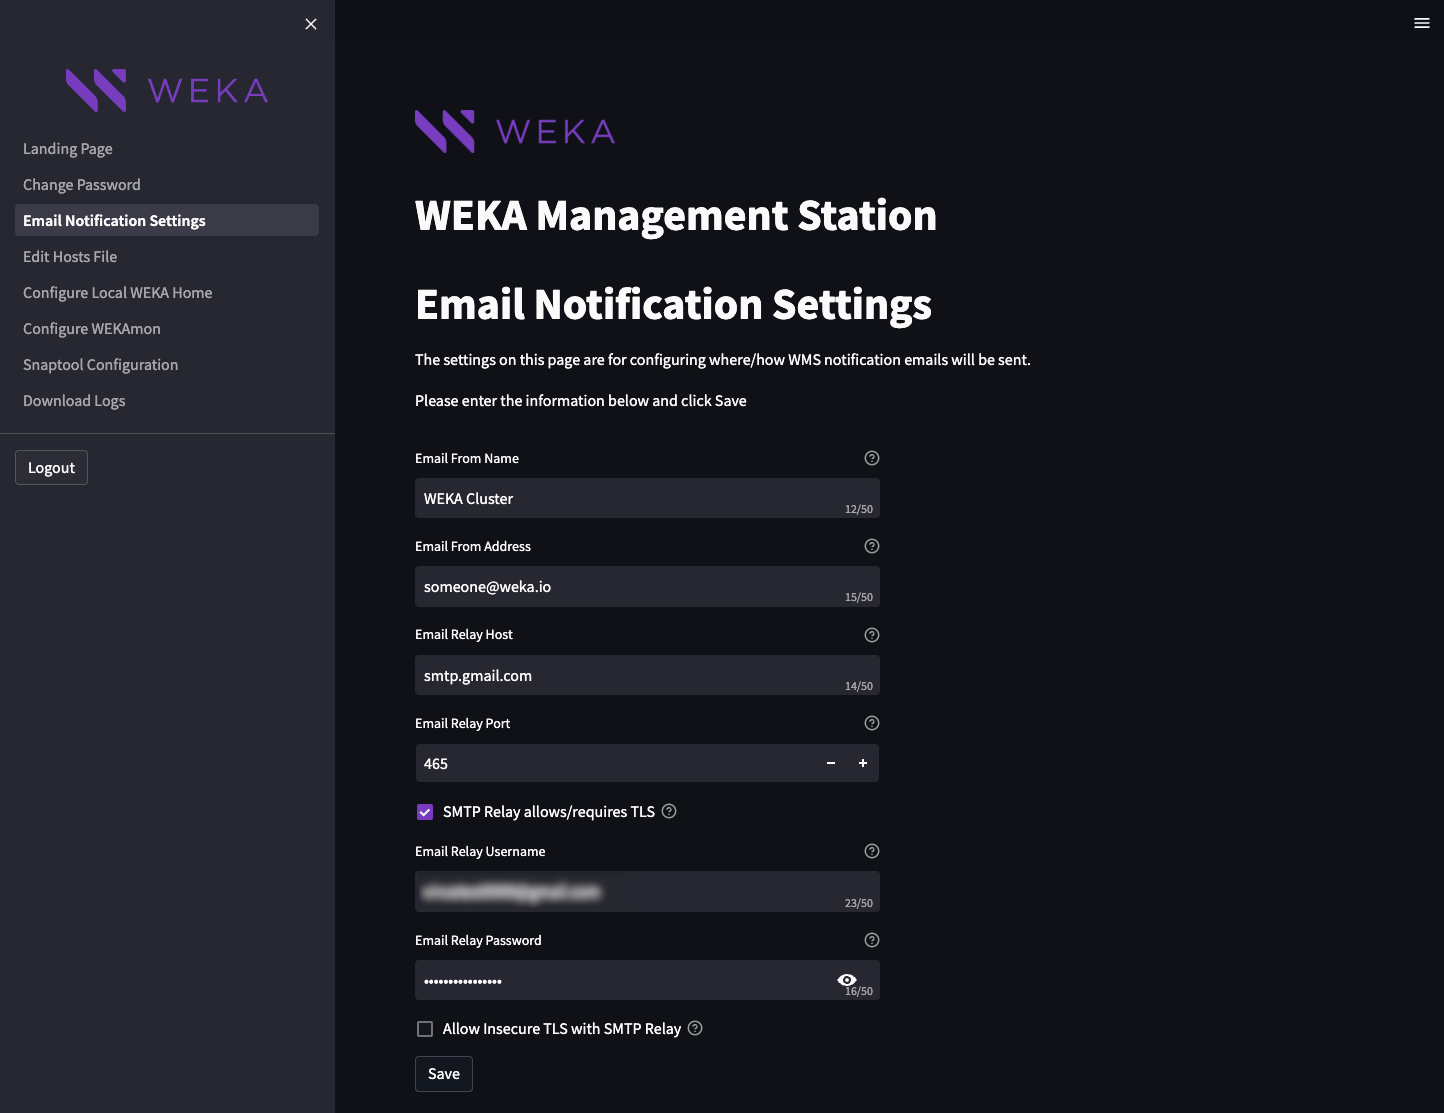
From the left pane, select Email Notification Settings.
Set the required details:
Email From Name: The designated name for the sender of WMS emails.
Email From Address: The email address used for outgoing emails from WMS.
Email Relay Host: The smart host or upstream SMTP Relay address WMS uses for sending emails.
Email Relay Port: The port number used on the SMTP Relay. Typically set to 25, 465, 587, or 2525.
SMTP Relay allows/requires TLS: Select if the SMTP Relay uses TLS encryption.
Email Relay Username: Enter the username for logging into the SMTP Relay, if necessary.
Email Relay Password: Enter the password for logging into the SMTP Relay, if necessary.
Allow Insecure TLS with SMTP Relay: Enable TLS for an SMTP Relay with a self-signed certificate.
Select Save.
Install and configure the LWH
Procedure
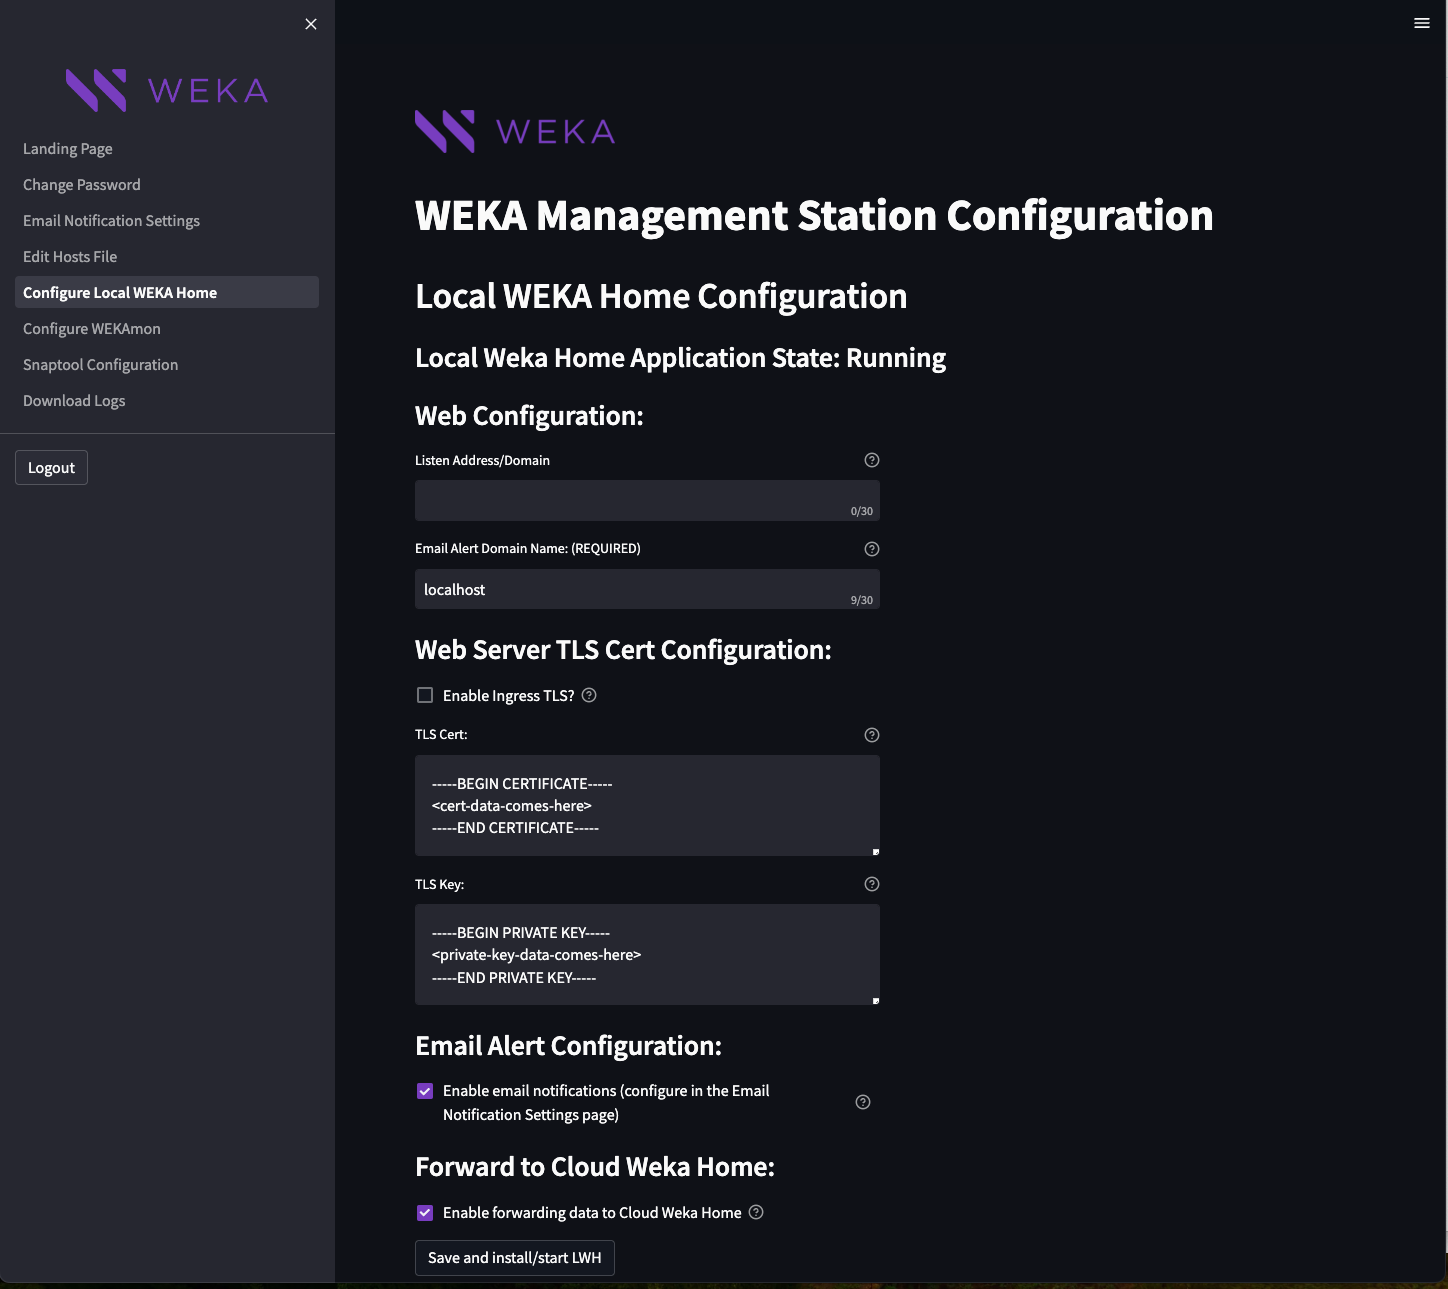
From the left pane, select Configure Local WEKA Home.
Set the required details:
Listen Address/Domain: Specify the address or hostname on which LWH will listen. Leave it blank or use 0.0.0.0 to listen on all interfaces. Alternatively, input an IP address, hostname, or FQDN as the TLS certificate requires.
Email Alert Domain Name (REQUIRED): Enter a domain name (or IP address) for Alert Email URL links. For instance, if you input sample.com, the links appear as https://sample.com/something. Typically, this is the domain you use to access WMS (this server's name).
Enable Ingress TLS: Toggle to enable TLS for all connections.
TLS Cert: Specify the TLS certificate to be used.
TLS Key: Enter the TLS key corresponding to the specified certificate above.
Enable email notifications (configure in the Email Notification Setting page): Activate email notifications and set up your email server configurations in the Email Notification Settings page.
Enable forwarding data to Cloud WEKA Home: Activate this feature to send data to Cloud WEKA Home. Internet connectivity to api.home.weka.io is required for this functionality. The default setting is activated.
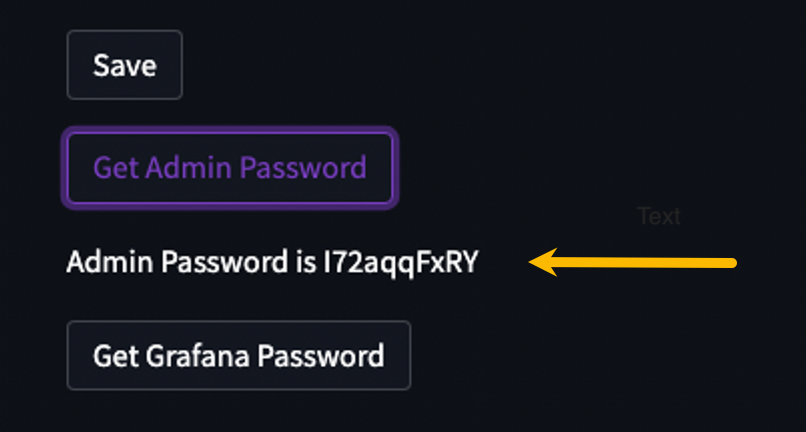
Select Save. The WMS saves the configuration and installs the Minikube and LWH. This process can take several minutes. When the process completes, the following appears:
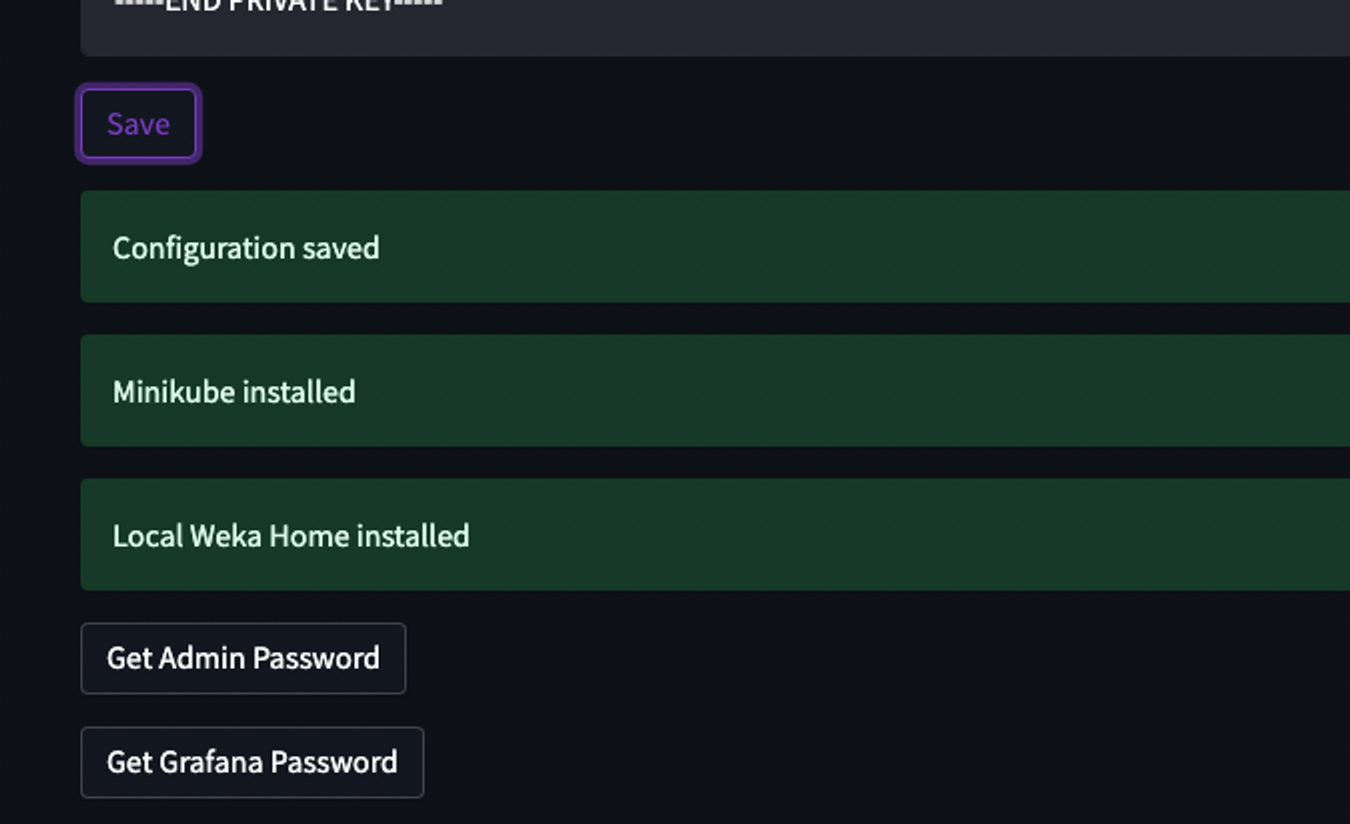
Retrieve the LWH Admin and Grafana passwords as follows:
Select Get Admin Password. The password appears below the button.
Select Get Grafana Password. The password appears below the button. This password only applies to the Grafana instance within LWH (not related to the Grafana instance of the WEKAmon).
Register the cluster with the LWH.
Choose one of the backend servers in your cluster to run the command.
Run the appropriate command based on your TLS configuration. If TLS is configured, use the following command with the WMS server IP or hostname:
If TLS is not configured, use the following command with the WMS server IP or hostname:
Ensure that the provided WMS server IP or hostname matches the WMS instance information.
The WMS can have multiple IP interfaces, such as when installed as a jump host with distinct interfaces for the corporate network and the cluster network. In scenarios where the cluster is isolated from the corporate network, it is essential to specify the IP address of the WMS associated with the cluster network.
Log in to the LWH. On the Landing Page, select Open Local WEKA Home. If the tab does not appear, check that the browser pop-up blocker does not block it. When prompted for a password, enter the Admin password retrieved in the previous steps. The LWH Cluster Overview page opens on a new tab.
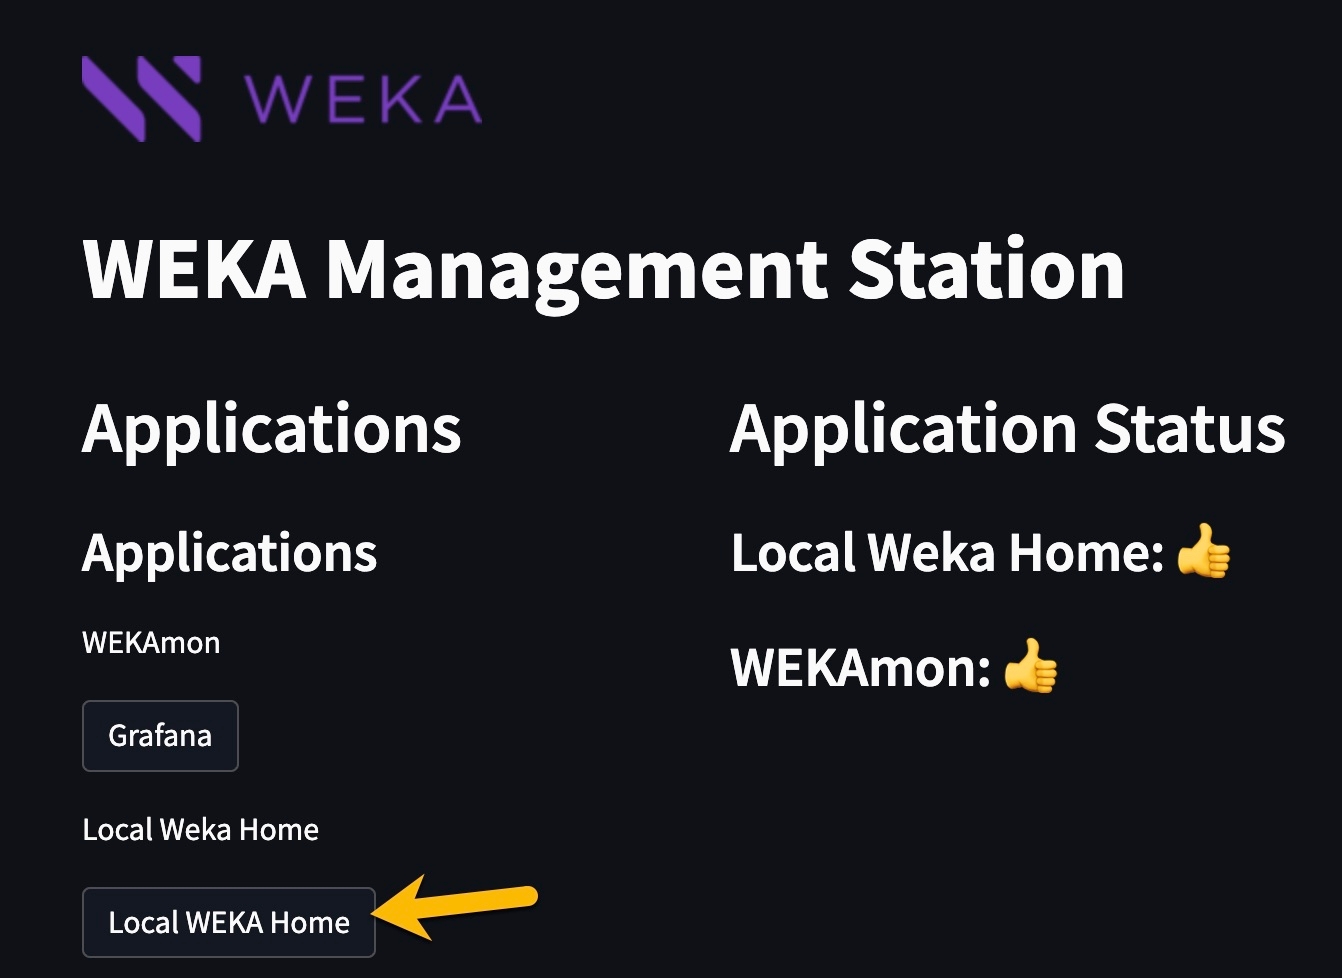
Reconfiguring LWH: If required, return to the LWH configuration page, update the configuration, and select Save again. The LWH configuration will be updated and restarted.
Configure the WEKAmon
Procedure
From the left pane, select Configure WEKAmon.
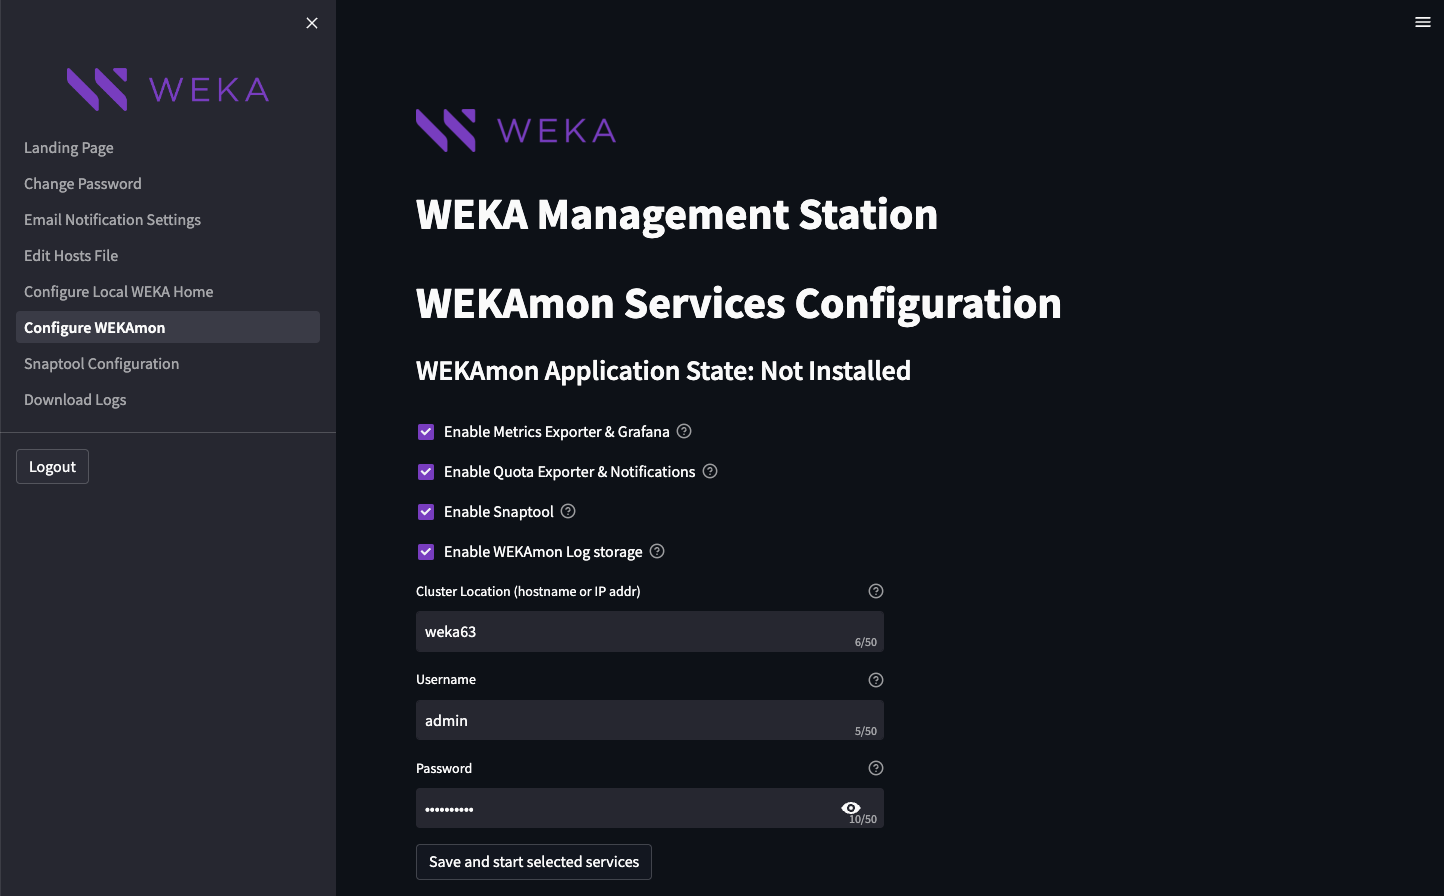
Select the services you want to enable. Possible options:
Enable Metrics Exporter & Grafana: Select to activate metrics exporter and Grafana integration to visualize and analyze performance metrics seamlessly.
Enable Quota Exporter & Notifications: Select to enable the WEKAmon to send notifications for soft storage quotas.
Enable Snaptool: Select to activate the snapshots manager, facilitating scheduled snapshots and automated operations.
Enable WEKAmon Log Storage: Select this option to enable long-term event storage within WEKAmon.
To set the quota limits, see Quota management.
Set the hostname or public IP address, username, and password of the cluster to monitor (it can be a backend server of the cluster). Then, select Save.
If DNS does not have the hostnames of the cluster, do one of the following:
Edit the /etc/hosts file before trying again. See Edit the hosts file.
Use the Cockpit Web Interface on port 9090 to change the DNS settings. See Cockpit Web Interface in Configure the WMS.
Once the WMS successfully logs in to the cluster, the WEKAmon installation begins. When the WEKAmon installation is completed, you can open it from the WMS Landing Page.
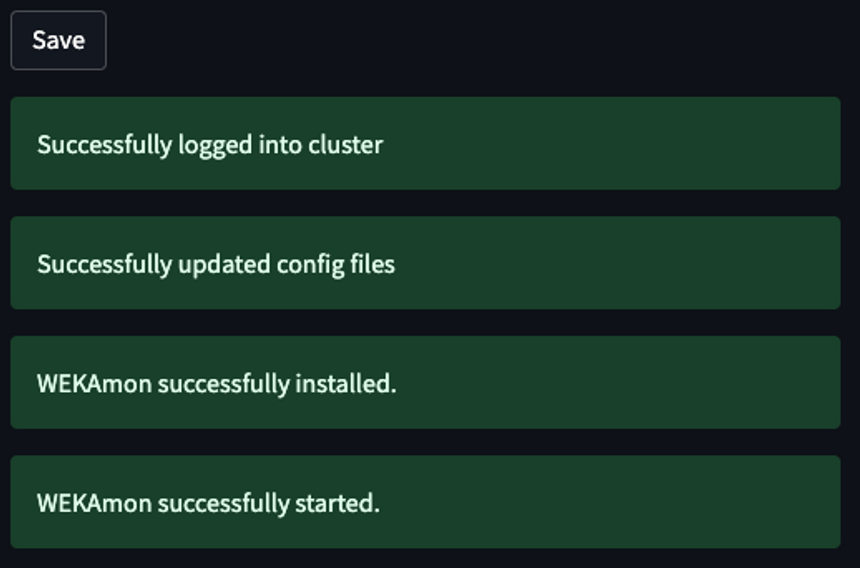
Log in to Grafana. On the Landing Page, select Grafana. If the tab does not appear, check that the browser pop-up blocker does not block it. When prompted for a username and password, enter the enter
admin/admin(not the username/password that was retrieved for LWH). The Grafana page opens on a new tab.
Edit the hosts file
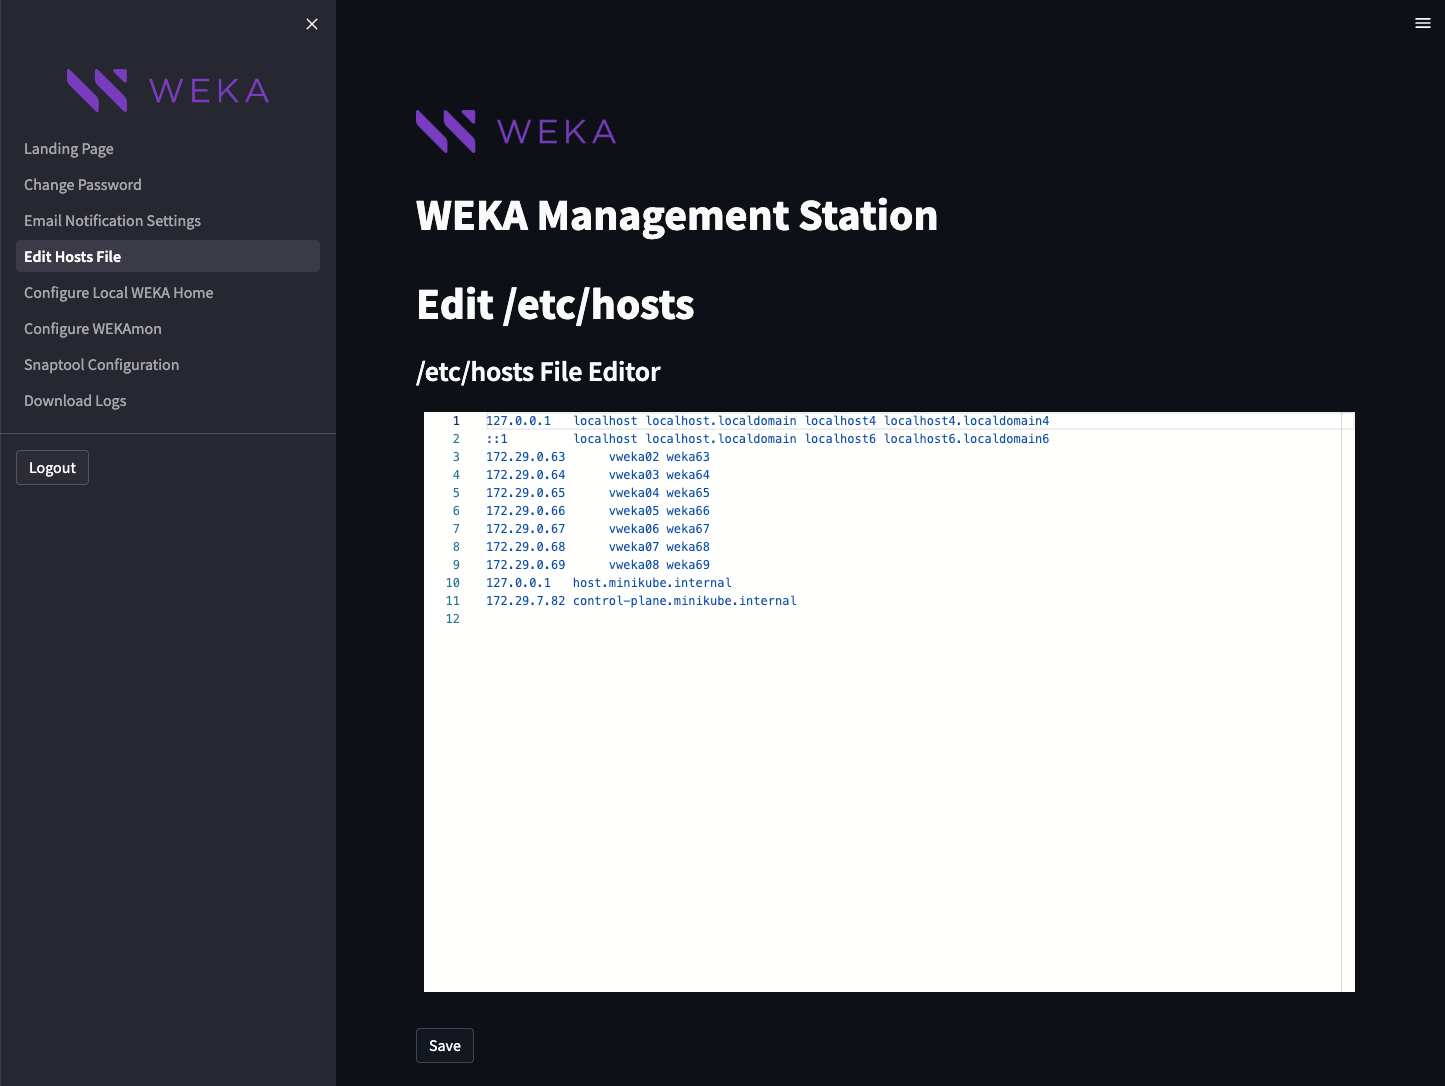
If the WEKA cluster servers are not resolvable with a DNS, resolve the server names and associate them with the relevant IP addresses accessible to the WMS in the /etc/hosts file.
The WMS provides a simple text editor to facilitate editing the /etc/hosts file.
Procedure
From the left pane, select Edit Hosts File.
Add the IP addresses of the cluster servers. Type, copy, and paste as in any other simple text editor.
Select Save.
Configure the Snaptool
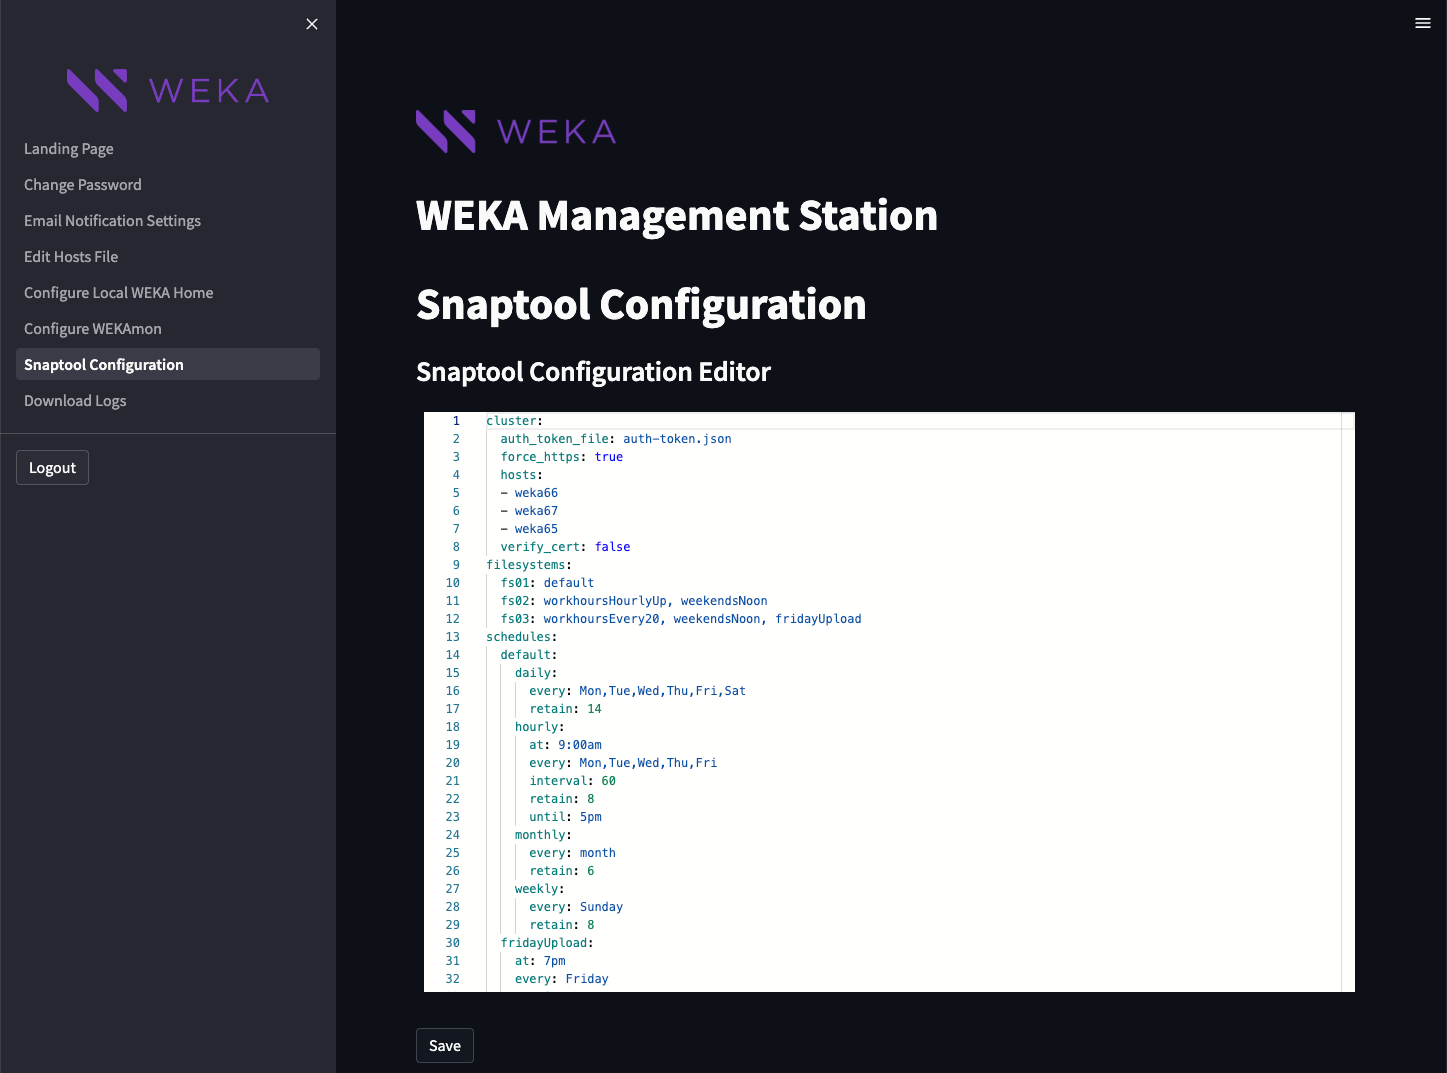
Snaptool is pre-installed in the /opt/snaptool directory and includes all the containers, so there is no need to download anything. Only configuration is required.
Procedure
From the left pane, select Snaptool Configuration.
In the Snaptool Configuration Editor, if required, you can update the configuration. For details, see Edit the configuration in the snaptool.yml file. Snaptool shares the same cluster login information as WEKAmon and automatically detects and re-loads its configuration when any changes are made.
Select Save.
Download diagnostics logs
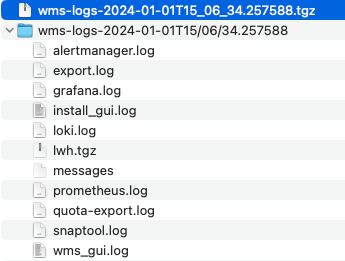
If errors occur during the WMS installation, download the diagnostics logs and send them to the Customer Success Team.
Procedure
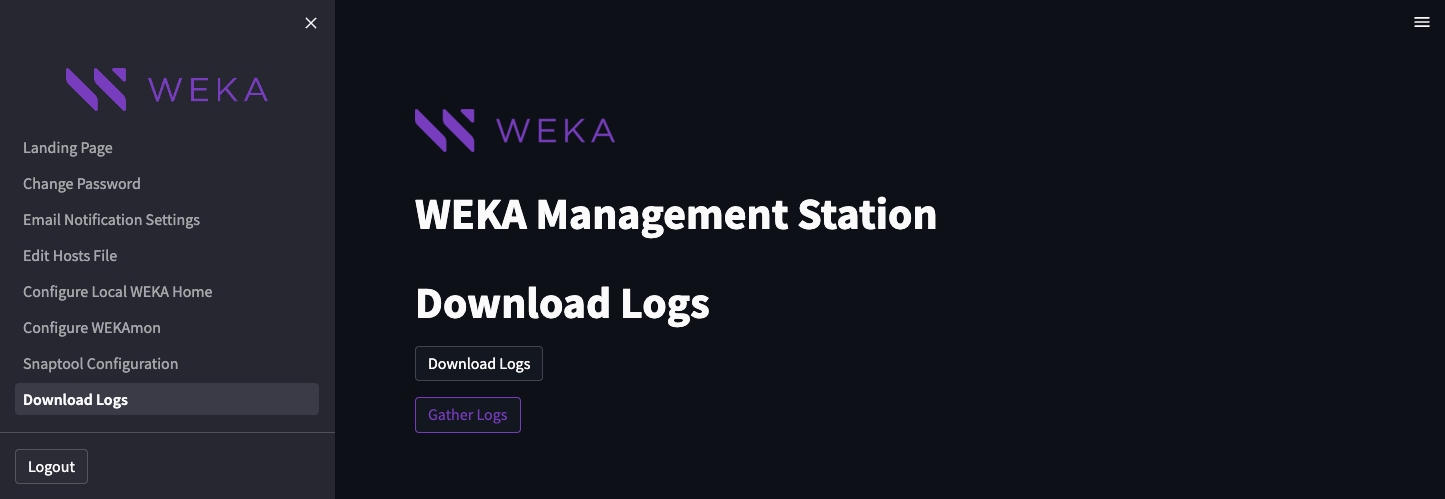
From the left pane, select Download Logs.
Select Gather Logs to collect the logs.
Once finished, select Download Logs to save a local copy of the diagnostics tarball on your workstation.
Share the downloaded files with the Customer Success Team.
Last updated