Manage NFS networking using the GUI
This page describes how to configure the NFS networking using the GUI.
Using the GUI, you can:
Configure the NFS global settings
NFS global settings consist of parameters that enable you to customize various aspects of the NFS service, including the support of the NFS protocol versions, the types of Kerberos authentication to use, and the port for mount requests and NFS locking.
By tailoring these settings, you can ensure that the NFS service meets your needs and requirements, such as supporting NFS V3 and V4 for compatibility with different client systems.
Before you begin
To support NFS file-locking, ensure the system meets the prerequisites outlined in NFS file-locking support.
Procedure
From the menu, select Manage > Protocols.
On the left pane, select NFS.
Select the Settings tab.
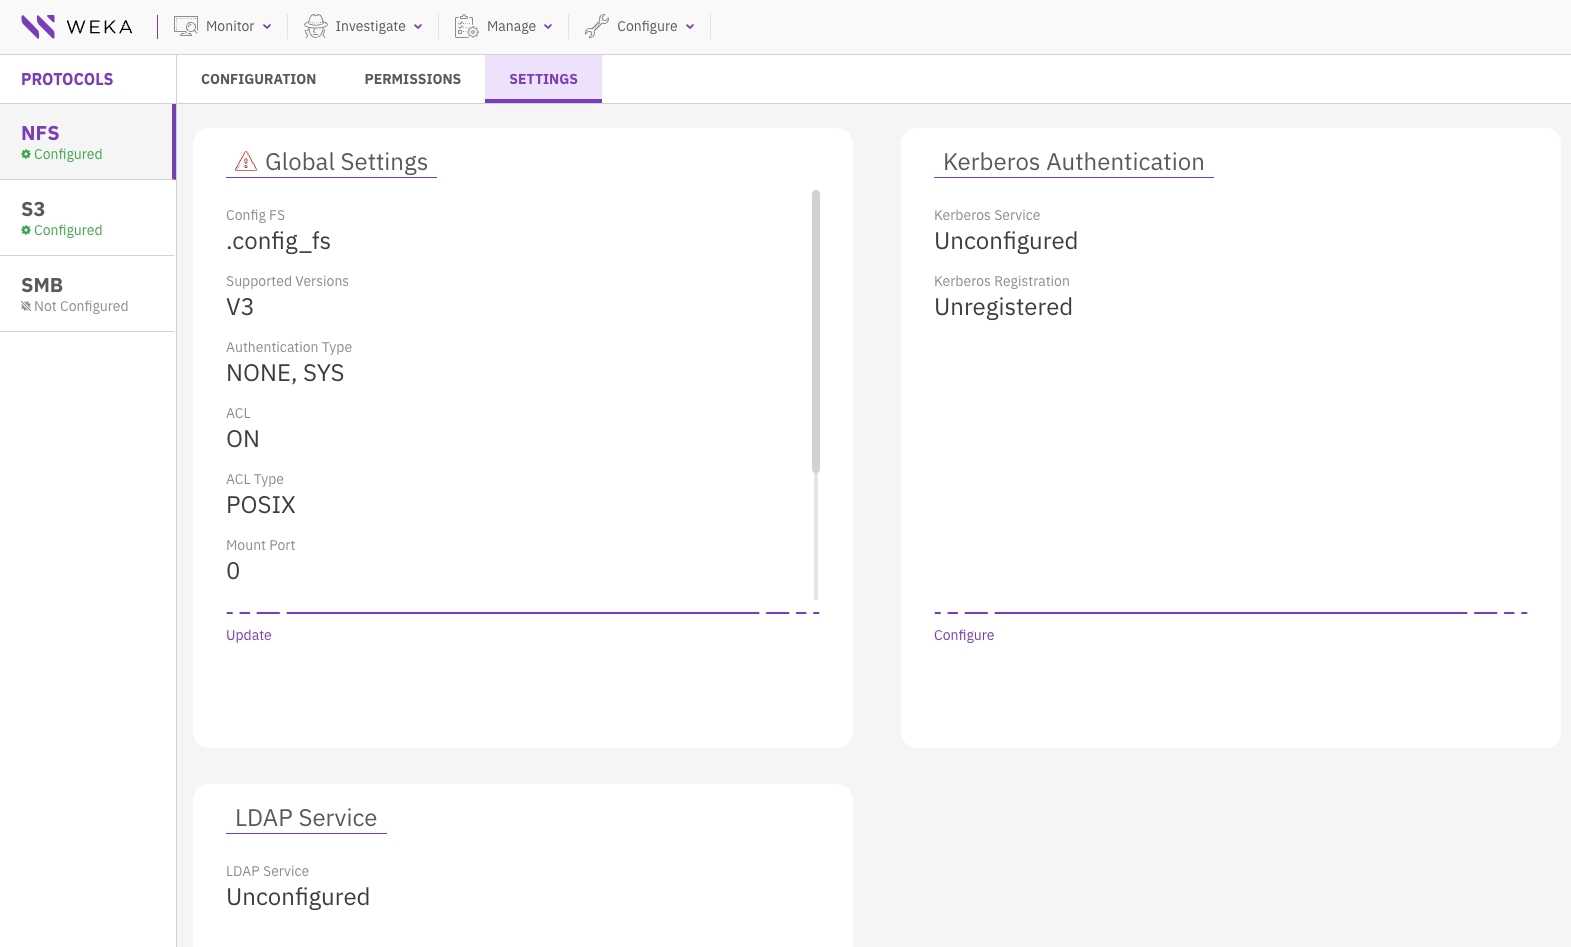
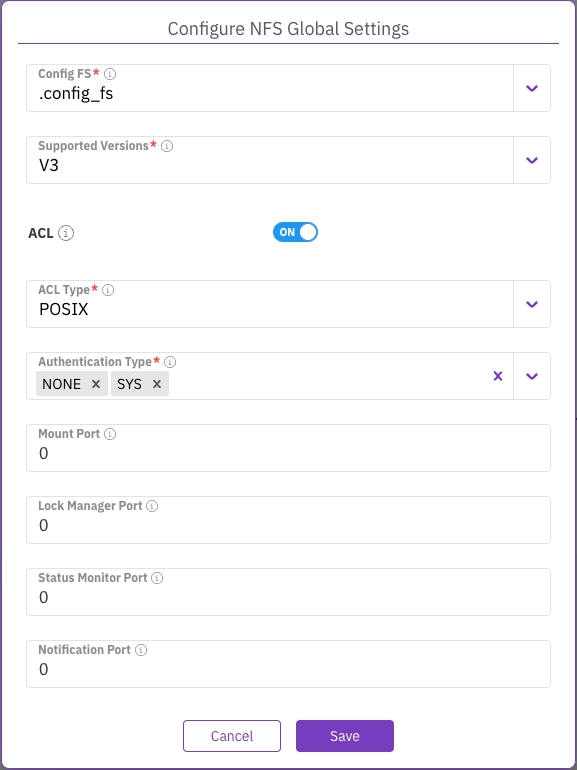
In the Global Settings section, select Update, and do the following:
Config FS: Select the cluster-wide configuration filesystem that maintains the NFS and Kerberos configurations.
Supported Versions: Select the NFS versions you want to support based on your needs. Options include V3, V4, or both.
ACL: Sets the ACL to ON (default) or OFF.
ACL Type: Defines the default access control method for the share. Options are:
None: No ACL enforcement or updates, regardless of existing POSIX ACLs.
POSIX (default): Enforces POSIX ACLs, compatible across protocols, but loses NFSv4's finer granularity.
NFSv4: Enforces NFSv4 ACLs directly, retaining full granularity, but lacks interoperability with other protocols.
Hybrid: Combines both POSIX and NFSv4 ACLs to support interoperability. NFS ensures consistency between the two ACL types, and if any inconsistency arises, POSIX ACL is used for enforcement.
Authentication Type: Enable the authentication types that can be used when setting the NFS client permissions. Possible values:
NONE: No authentication.
SYS: System authentication.
KRB5: Basic Kerberos authentication.
KRB5i: Kerberos authentication with data integrity.
KRB5p: Kerberos authentication with data integrity and privacy.
The Kerberos authentication types are visible only if Kerberos is configured. Example: KRB5 KRB5i KRB5p. The default values depend on Kerberos configuration:
If not configured: NONE SYS
If configured: KRB5
Mount Port: Set the port that the mountd service binds to.
Lock Manager Port: Set the port for the network lock manager’s registration.
Status Monitor Port: Set the port for the network status monitor’s registration.
Notification Port: Set the port for the notification’s registration.
These ports are only relevant for NFSv3. The default value of 0 indicates using the default published ports.
Select Save to apply the settings.
Configure the NFS cluster level
Configuring the NFS cluster level involves creating an interface group and assigning at least one server with its corresponding port.
Create an interface group
Procedure
From the menu, select Manage > Protocols.
On the left pane, select NFS.
In the Configuration tab, select the + sign near the Interface Groups title.

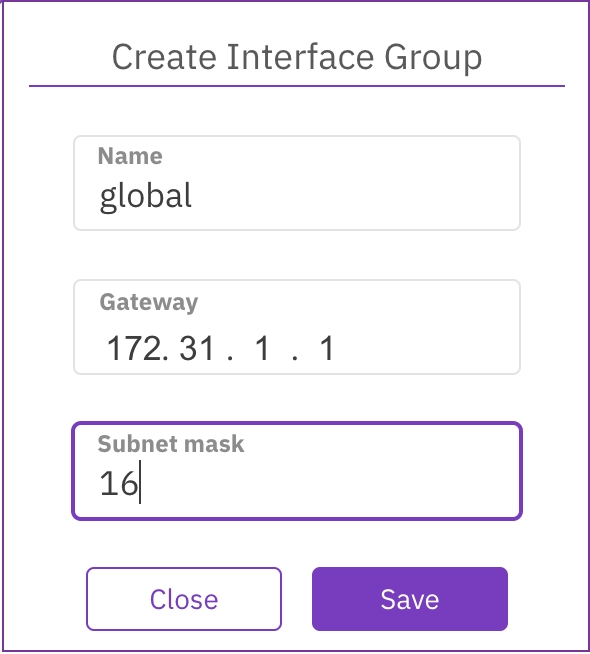
In the Create Interface Group dialog, set the following properties:
Name: A unique interface group name (maximum 11 characters).
Gateway: A valid IP address of the gateway.
Subnet mask: The subnet mask in CIDR (Classless Inter-Domain Routing) format. For example, a value of 16 equals 255.255.0.0.
Select Save.
Set interface group ports
After creating an interface group, set the ports for this group to establish the NFS cluster. You can only set these ports on frontend containers. To ensure system resiliency, have at least two NFS servers in place.
Repeat this port setting process for each server participating in the NFS cluster.
Procedure
In the Configuration tab, select the interface group.
In the Group Ports table, select +Create.
In the Add Port dialog, set the following properties:
Hostname: Select the server on which the port resides.
Port: Select the port from the list.
Select Save.
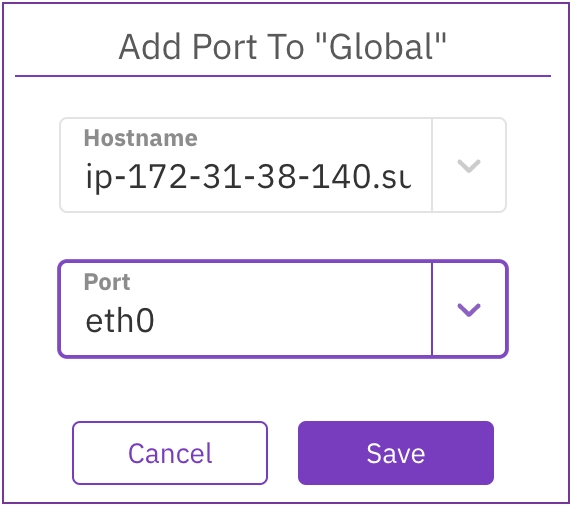
Example

Remove an interface group port
You might need to remove an interface group due to a change in network configuration, for efficiency, for troubleshooting, during network reorganization, or to replace it with a more suitable group. Always check that the group isn’t in use before you remove it to avoid disruptions.
Procedure
In the Configuration tab, select the interface group.
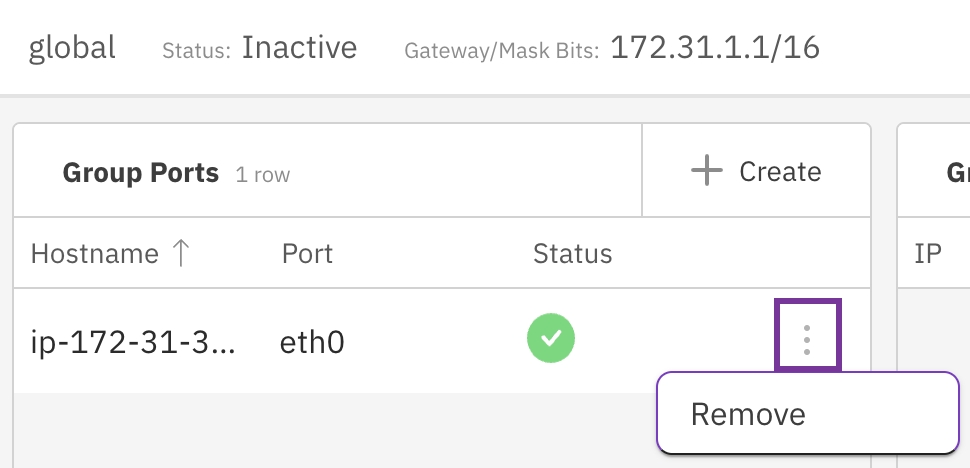
In the Group Ports table, select the three dots, and from the menu, select Remove.
Set interface group IPs
Procedure
In the Configuration tab, select the interface group.
In the Group IPs table, select +Create.
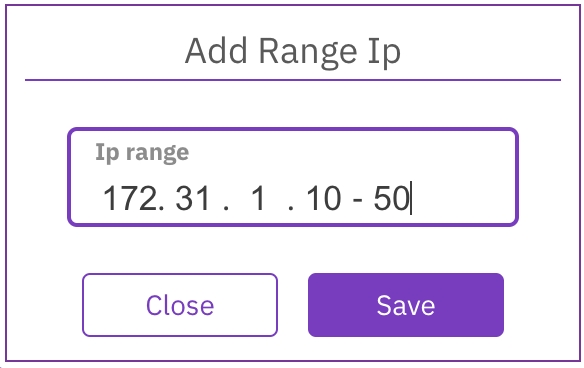
In the Add Range IP dialog, set the relevant IP range.
Select Save.
Remove an interface group IP range
Procedure
In the Configuration tab, select the interface group.
In the Group IPs table, select the three dots, and from the menu, select Remove.
Integrate the NFS and Kerberos service
Integrating the NFS and Kerberos service is critical to setting up a secure network communication process. This procedure involves defining the Key Distribution Center (KDC) details, administrative credentials, and other parameters to ensure a robust and secure authentication process.
Before you begin
Ensure a configuration filesystem is set. See Manage NFS networking using the GUI.
Ensure the NFS cluster is configured and running. See Configure the NFS cluster level.
For Active Directory (AD) integration, obtain the required information from the AD administrator. (WEKA handles the generation of the keytab file.)
For MIT integration, obtain the required information from the MIT KDC and OpenLDAP administrators, and a pre-generated keytab file stored in an accessible location is required.
Procedure
From the menu, select Manage > Protocols.
On the left pane, select NFS.
Select the Settings tab.
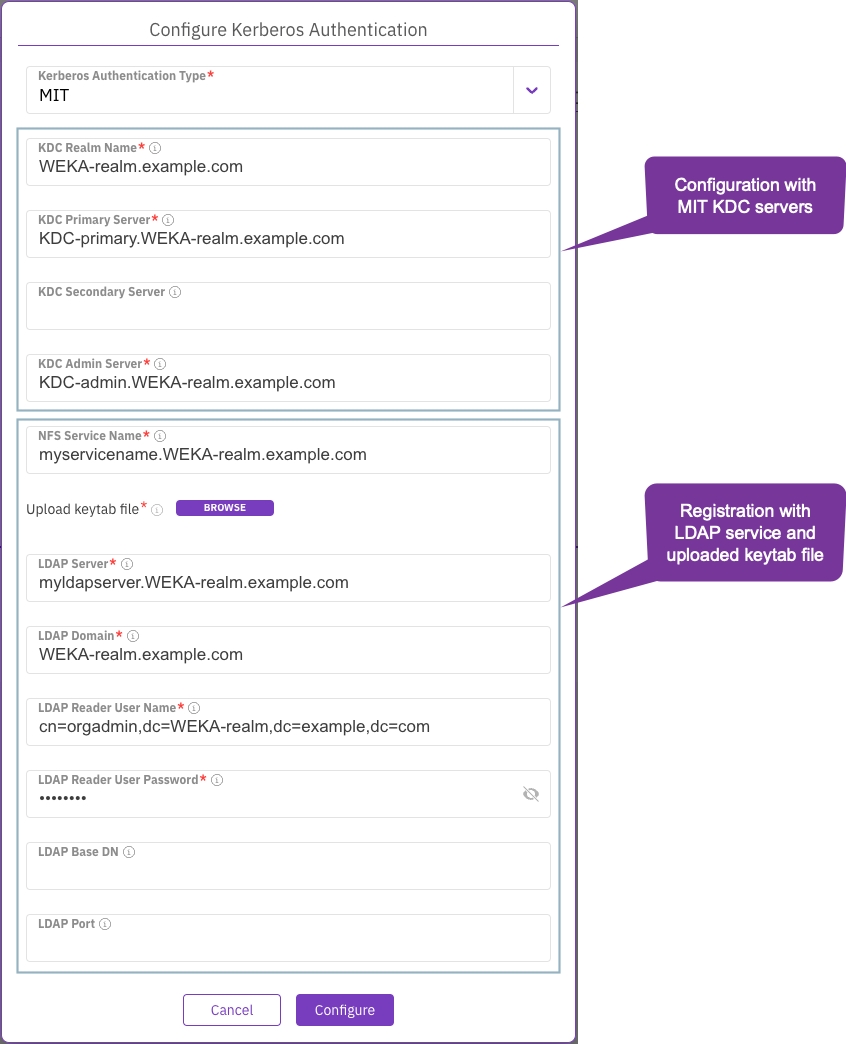
In the Kerberos Authentication section, select Configure.
Choose the tab that matches your authentication method and follow its instructions.
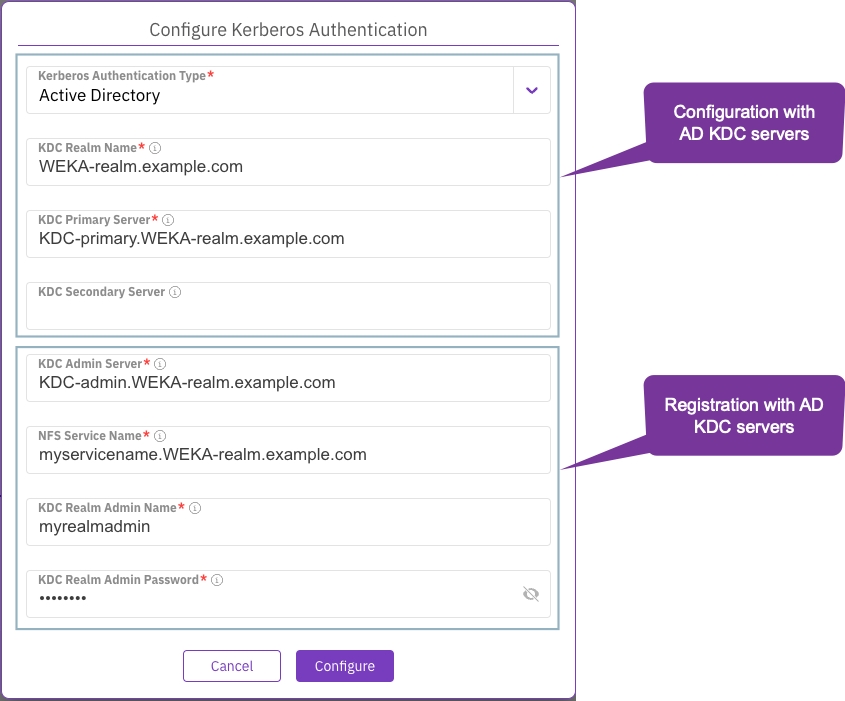
From the Kerberos Authentication Type, select Active Directory (AD).
Set the following parameters to configure the Kerberos with AD KDC servers:
KDC Realm Name: Specifies the realm (domain) used by Kerberos.
KDC Primary Server: Identifies the server hosting the primary Key Distribution Center service.
KDC Secondary Server: Identifies the server hosting the secondary Key Distribution Center service.
KDC Admin Server: Identifies the server hosting the administrative Key Distribution Center service.
Set the following parameters to register the Kerberos service:
NFS Service Name: This refers to the complete domain name for a specific NFS server.
KDC Realm Admin Name: The username of an administrator who has access to the LDAP directory. This user manages the KDC within a realm.
KDC Realm Admin Password: The password of the administrative user who manages the KDC within a realm.
Select Save to apply the changes.
Reset the Kerberos configuration
Resetting the Kerberos configuration is necessary when you need to completely remove the Kerberos service configuration data. Once the data is removed, you can set up a new Kerberos service integration.
Upon resetting the Kerberos configuration, it triggers the following two actions:
The NFS containers are restarted, leading to a temporary disruption in the I/O service for connected NFS clients.
The authentication types in the NFS Global Settings are reset to their default values.
Configure the NFS export level (permissions)
Create client access groups
Creating additional client groups helps in better organization, customization of settings, and enhanced security by segregating access levels.
Procedure
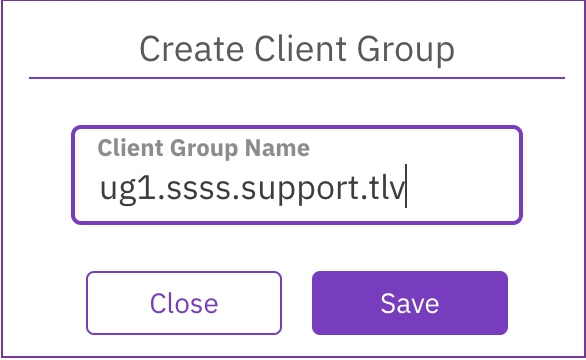
In the Permissions tab, select the + sign near the Client Groups title.

In the Create Client Group dialog, set the client group name.
Select Save.
Assign a DNS and IP to a client group
Assigning a DNS and IP to a client group facilitates network communication and resource access. This step is crucial for the group’s operational functionality.
Procedure
In the NFS configuration, select the Permissions tab.
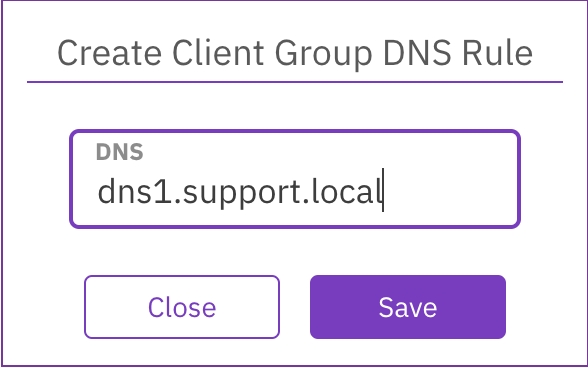
In the Permissions tab, select Add DNS for the relevant Client Group.

In the Create Client Group DNS Rule dialog, set the DNS server name. Then, select Save.
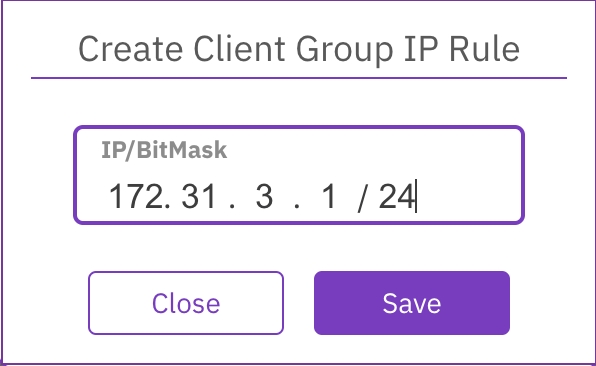
In the Permissions tab, select Add IP for the relevant Client Group.
In the Create Client Group IP Rule dialog, set the IP address and bitmask. Then, select Save.
Remove the DNS or IP of a client group
Procedure
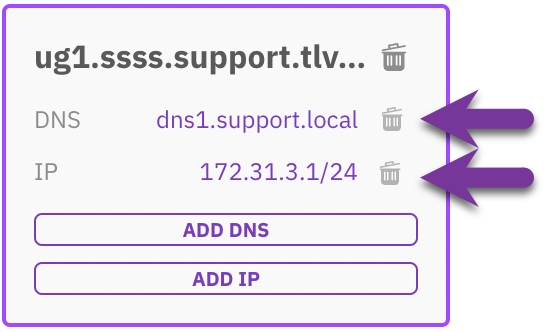
In the Permissions tab, select the trash symbol displayed next to the DNS or IP for the relevant Client Group.
Create NFS client permission
Creating NFS permissions for a client group enhances access control and efficiency. It allows system administrators to manage access to files, protecting sensitive data and simplifying permission management.
NFS permissions also provide flexibility and foster collaboration. They can be adjusted as needed, especially when a team needs to work on the same files. However, they work best in trusted environments.
Before you begin
If you create an NFS v4 client permission, verify that a global configuration filesystem is already set in the system. See Configure the NFS global settings.
Procedure
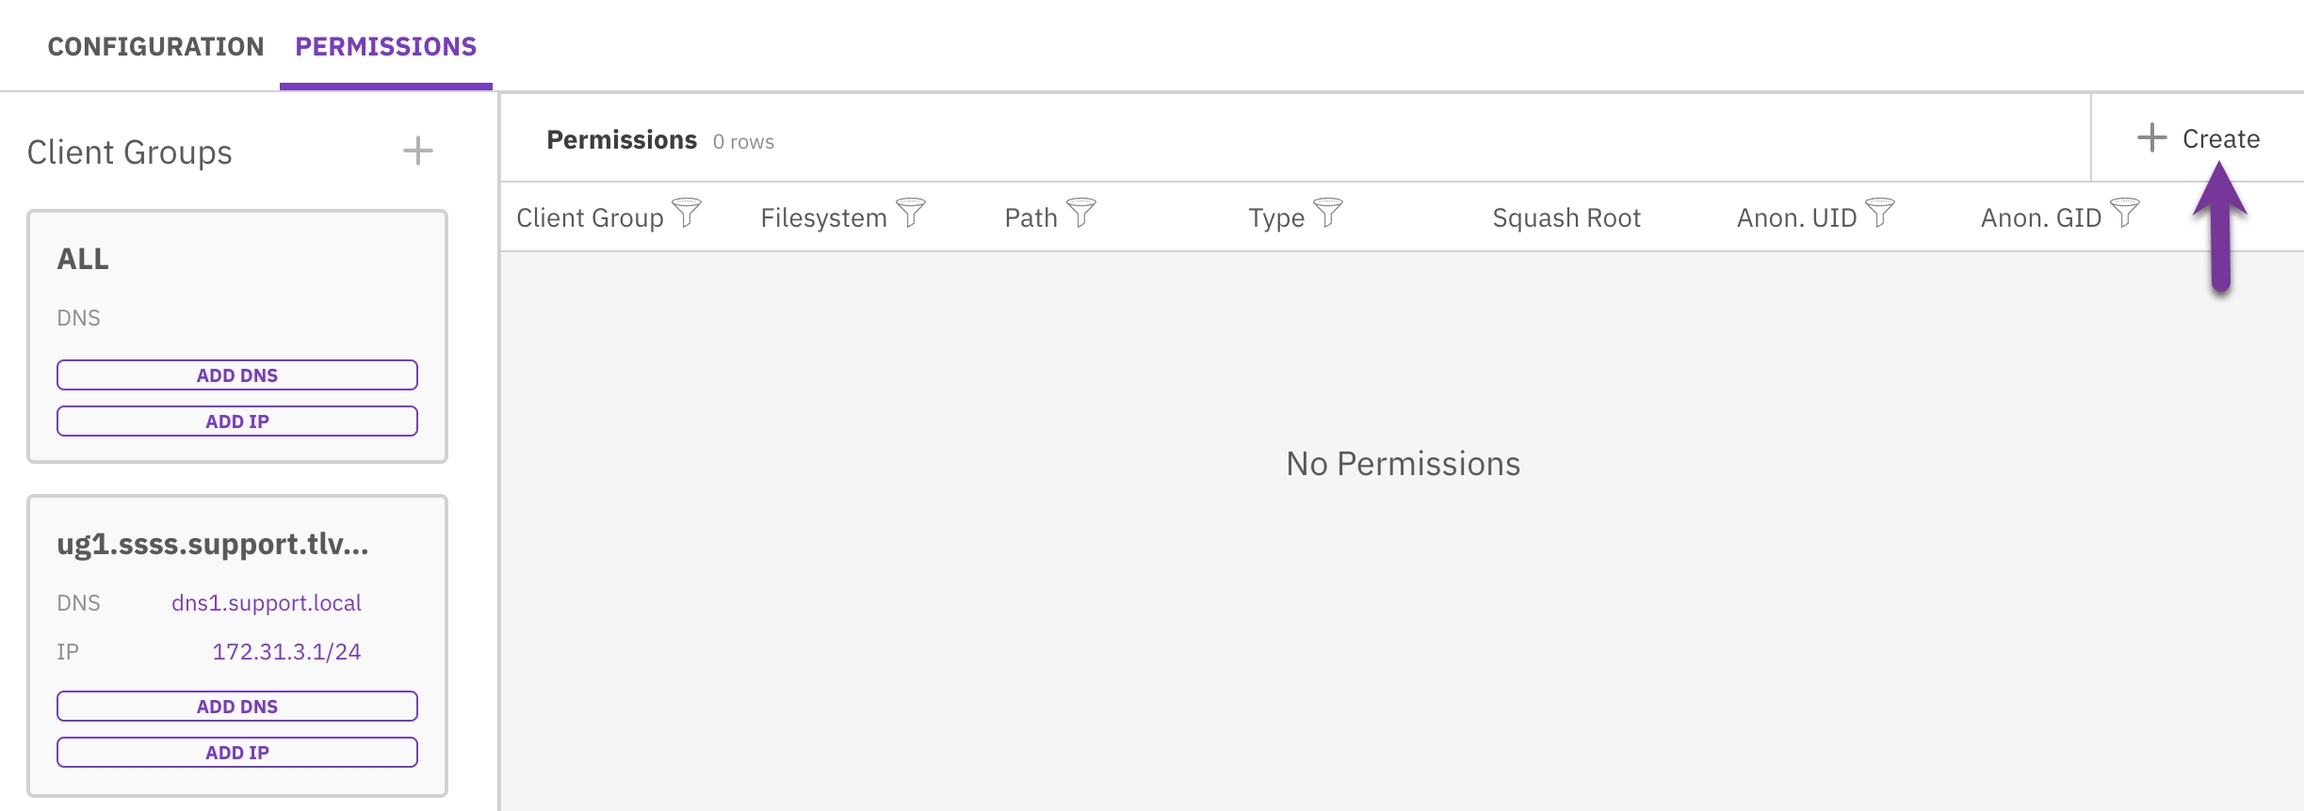
In the Permissions table, select +Create.
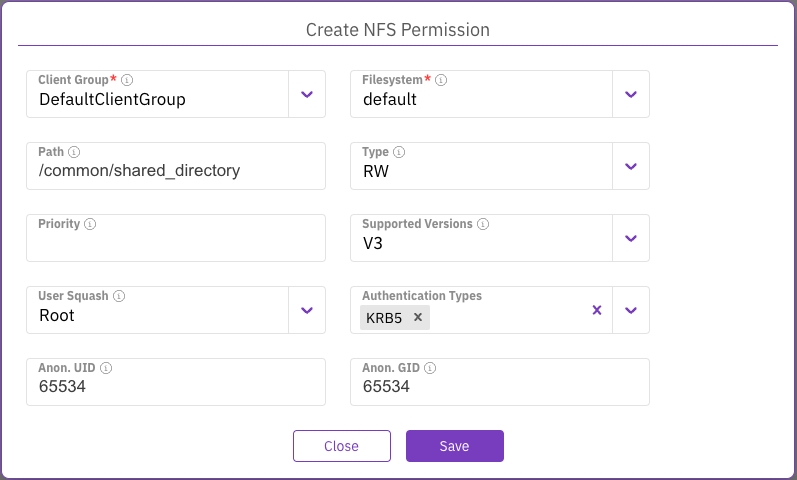
In the Create NFS Permission dialog, set the following properties:
Client Group: The client group to which the permissions are applied.
Filesystem: The filesystem to which the permissions are applied. A filesystem with Required Authentication set to ON cannot be used for NFS client permissions.
Path: The shared directory path (root share).
Type: The access type: RO (read-only) or RW (read/write).
Priority: Permissions are processed in ascending priority order during access evaluation, beginning with the lowest number. If a client matches multiple permission entries, the entry with the highest priority number determines the effective permission. Using a numbering system in tens (10, 20, 100) is advisable to facilitate the addition of priorities between existing ones.
Supported Versions: The supported NFS versions (V3, V4, or both).
User Squash: The system enforces squash mode with the client's permission.
Authentication Types: The method of authentication. The enabled authentication types in the NFS global settings determine the possible options and the default. Examples:
Enabled types: NONE, SYS, KRB5, KRB5i, KRB5p. Default: KRB5.
Enabled types: NONE, SYS. Default: NONE, SYS.
Enabled types: NONE, SYS, KRB5i, KRB5p. Default: KRB5i.
Anon. UID: Anonymous user ID. Only relevant for Root and All user squashing.
Anon. GID: Anonymous group ID. Only relevant for Root and All user squashing.
Select Save.
Edit NFS client permission
You can edit the existing NFS permission settings for a client group. You can also move the priority to the top or bottom priority (related to other client group priorities). If the client group permission setting is no longer required, you can remove it.
Procedure
In the Permissions table, select the three dots of the client group to edit, and select Edit.

Set the relevant properties: Type, Priority, Supported Versions, Squash Root, Authentication Type, Anon. UID, and Anon. GID. Then, select Save.
To move the priority of a client group setting to the top or bottom priority, select Move to top priority or Move to bottom priority.
To remove the client group permission setting, select Remove.
Related topics
